Today I felt like getting back to normal and after Dave and I cleaned out the garage and moved some stuff to the upstairs storage area, I got this nice email asking about my post on the design wall installation that I use, and reuse every time I change my studio arrangement. It is totally flexible.
++++++++
Pam in SW Florida asks:
I am wondering about the Command hooks and your design wall statement. how thick is your design wall and how do you hang it with Command strips?
Thank you
I use 1" thick styrofoam insulation from Lowe's and the large Command hooks that hold 5 lbs.
Since this is the third time I have used the same design wall, I had to cut it to size again and cut out a space for the wall outlet. Using a craft knife and straight edge I drew the shape and cut it easily. To attach the two panels, I chose to do them horizontally this time, to fit in under the ceiling light fixture.
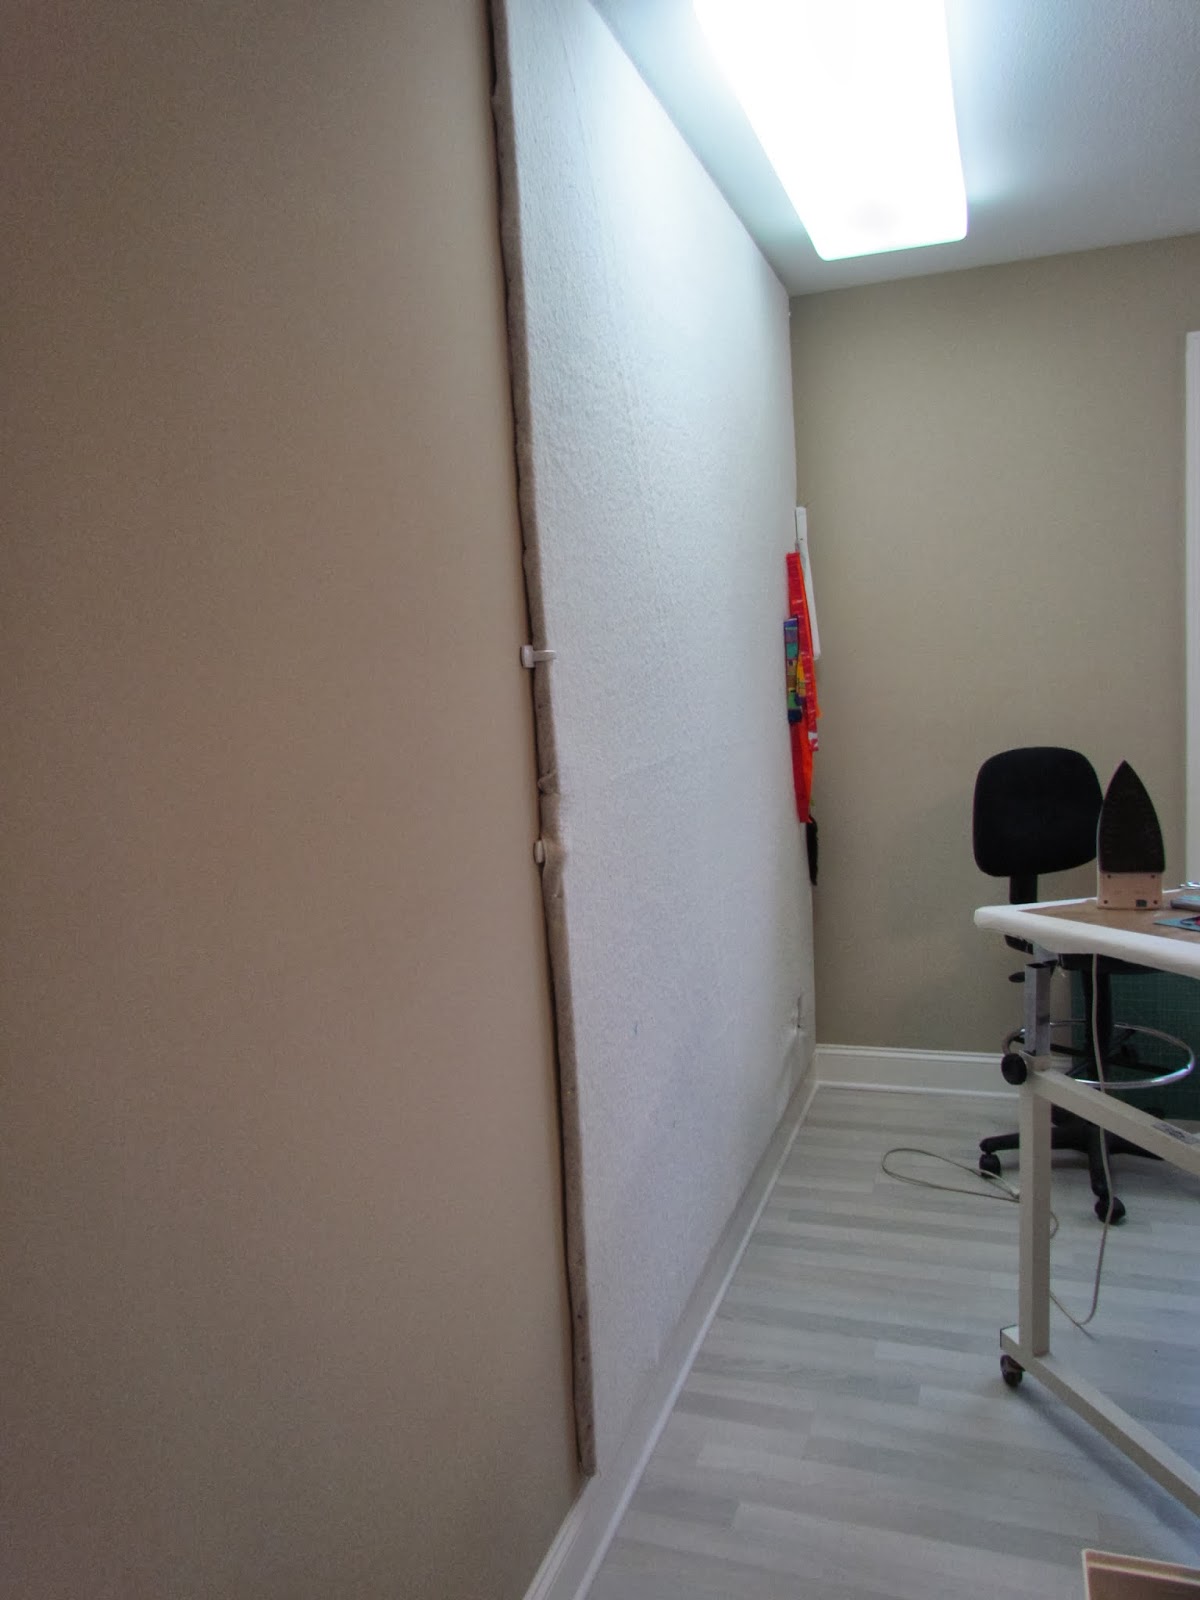
Here's the wall, just propped in place. Because my last studio space had a very low ceiling, I had cut these panels down to fit. Not wanting to buy more, I decided I could still make use of these, if I hung them horizontally instead of vertically. They are about 7'4" wide instead of 8 feet. The bottom panel was also cut down to fit above the baseboard. Since I am making smaller works for the foreseeable future I really don't need an 8x8 foot design wall.
I put two hooks on the bottom side and two on the sides of the bottom panel. Then I pinned the batting to the top panel and placed two hooks on either side of that panel as I anchored it in place over the edge of the bottom panel. It was easier than it sounds and I did it alone, so take note.

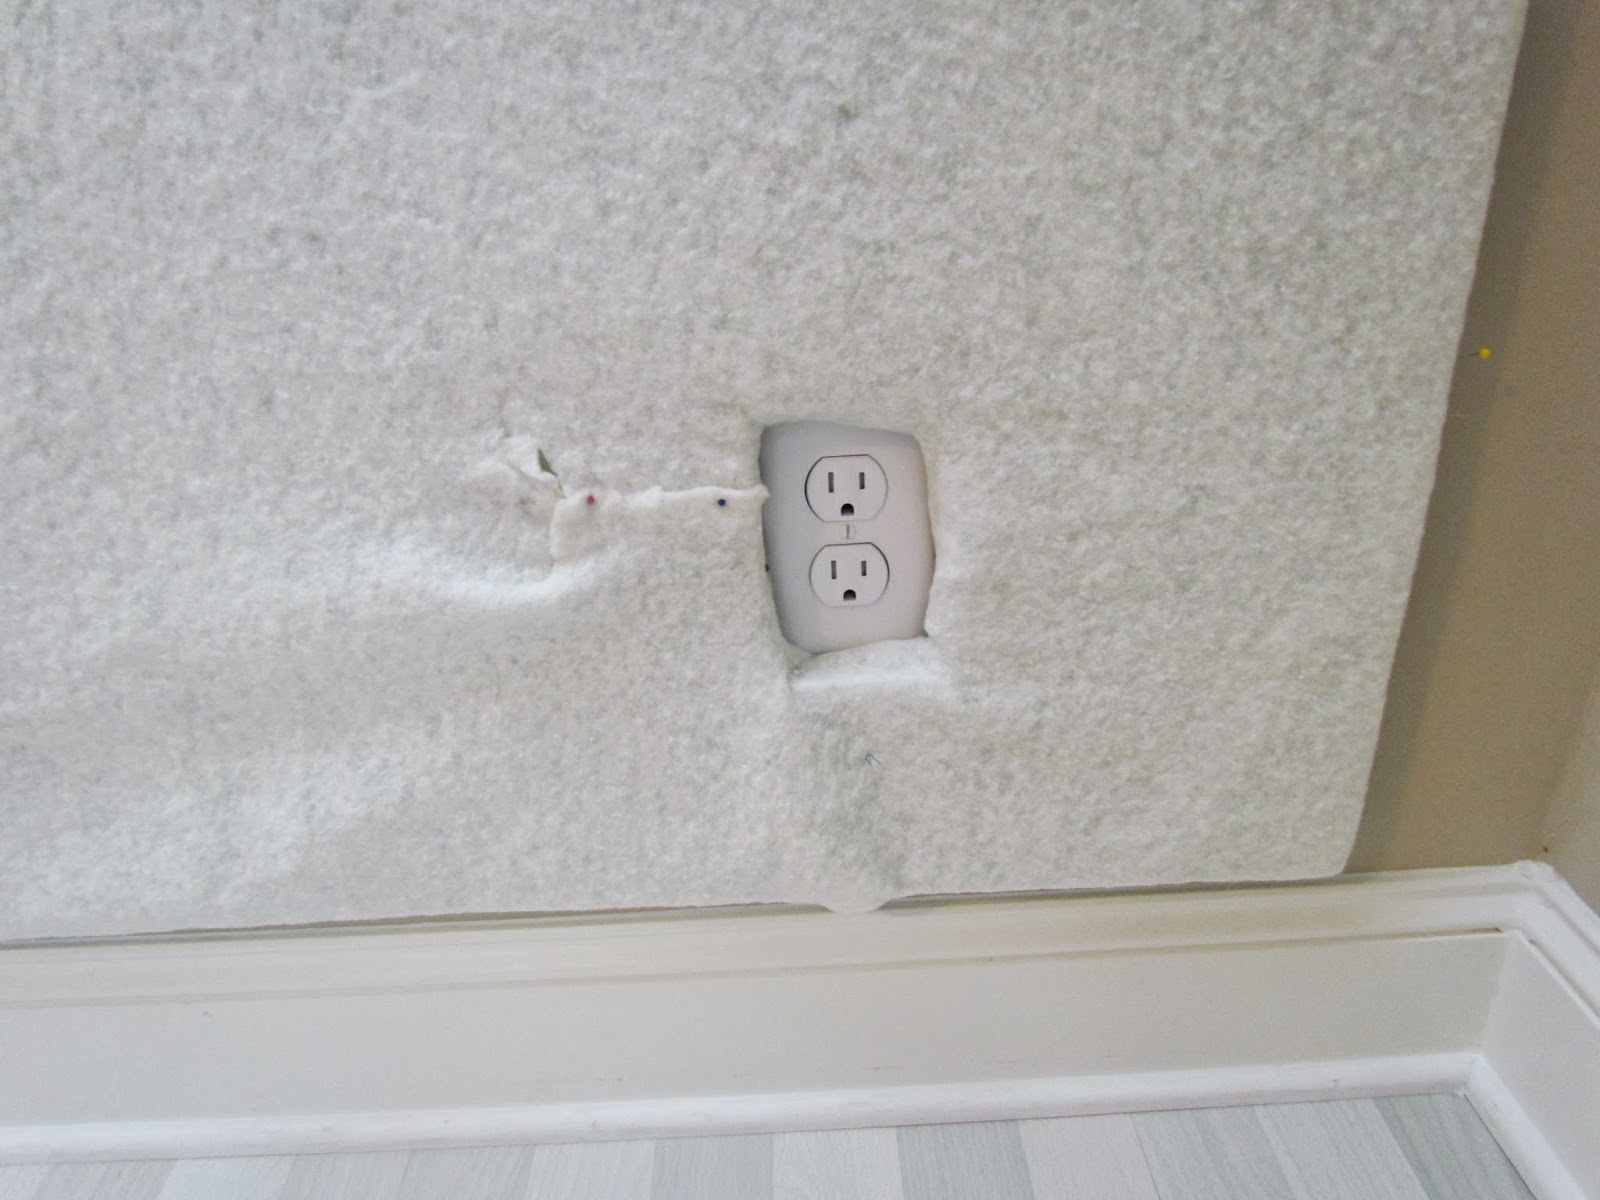
Surgery on the styrofoam for the outlet. The leftover batting shows the previous hole, pinned in place now, and hardly noticeable.
And then the fabric all pulled out and scattered... I washed the floor in the new studio and took the dogs out for a final walkies around the block and even tho it was after 4pm, I thought I would start something creative in the space.
It was pretty lame, so I will put it aside and try again.
I hope this helps. Happy New Year everyone!!!
Here's the wall, just propped in place. Because my last studio space had a very low ceiling, I had cut these panels down to fit. Not wanting to buy more, I decided I could still make use of these, if I hung them horizontally instead of vertically. They are about 7'4" wide instead of 8 feet. The bottom panel was also cut down to fit above the baseboard. Since I am making smaller works for the foreseeable future I really don't need an 8x8 foot design wall.

I put two hooks on the bottom side and two on the sides of the bottom panel. Then I pinned the batting to the top panel and placed two hooks on either side of that panel as I anchored it in place over the edge of the bottom panel. It was easier than it sounds and I did it alone, so take note.

Surgery on the styrofoam for the outlet. The leftover batting shows the previous hole, pinned in place now, and hardly noticeable.
And then the fabric all pulled out and scattered... I washed the floor in the new studio and took the dogs out for a final walkies around the block and even tho it was after 4pm, I thought I would start something creative in the space.
It was pretty lame, so I will put it aside and try again.


So I must have missed the moving in to the new house posts??
ReplyDeleteThank you so much. This is a vast improvement to my thumbtacked piece of askew felt!
ReplyDeleteCommand hooks are a wonderful idea. I have been propping my design wall propped on a stool. Rather tippy. Great tip. Thanks yhou
ReplyDelete