


Warning: Knitting talk follows. For you non-knitters, just skip the numbers but come back for the story.
I saw this adorable bonnet on Ravelry and thought I could figure it out myself, and then was stumped. I got as far as imagining that one might begin with the ties (I-cord, simple enough) and then cast on for the ribbing...no that isn't right. OK make the mitered parts first then pick up stitches for the ribbing and then do I-cord all around, ending with the ties. Yes. So, figuring it out, I forgot about it.
++++
We had several doctor's appointments this week which I prepare for by gathering up some yarn and needles to pass the time. Yesterday I decided to use up all the little leftover balls of yarn that I was saving for scarves, where I like a bunch of different yarns to perk up a simple knit. I began this scarf thus:
Cast on 5 stitches.
Kfb, kfb,k, kfb, kfb. 9 stitches
K4, p1,k4.
Sl 1, kfb, k1, kfb,k1,kfb,k1,kfb, p1. 13 stitches
Sl 1, k5 p1,k5, p1
Continue thus: slipping first stitch, kfb, k to 1 stitch before center stitch, kfb, then knit center stitch, kfb, continue to one stitch before the end of row, kfb, p.
This pattern results in a lovely triangle which grows as tall and wide as you like.
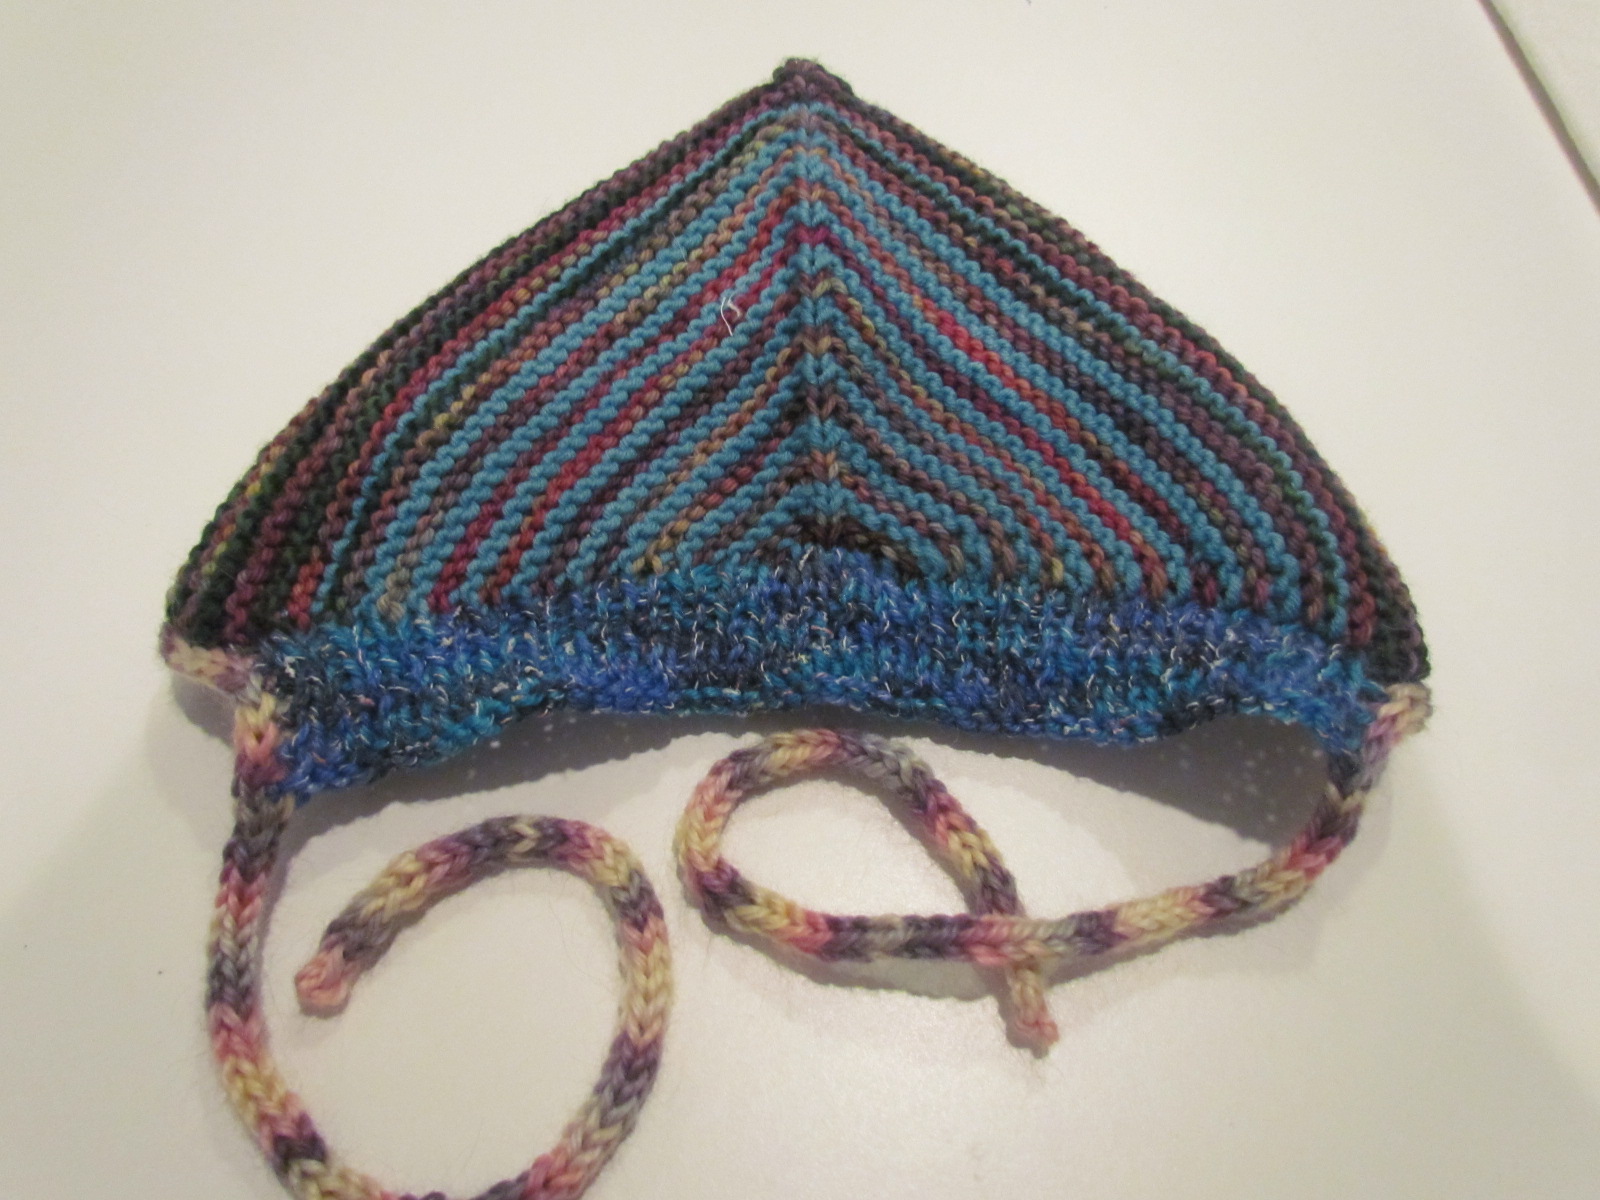 The back of the hat which was to be the beginning of the scarf, but then I remembered that bonnet. What if I started decreasing from this point on, would I make a nice pointy enclosed thingy? OK, so I decreased one stitch on each edge (after the initial slipped stitch) and two stitches before and after the center k stitch, which worked just as expected.
By this point we had left the doctor's office and I was at home in front of the TV, obsessed with finishing this thing. It was a pointy hat which I figured needed to be longer in back, but not so much longer all around ( I have since changed my mind), so I just picked up stitches for the ribbing along the back which as you might recall is where I began. Then the ties. Hmm. OK so first I made some I-cord, long enough to work for one side and proceeded to attach-knit it to the hat itself, from the front, which was icky looking. Plan B. Starting on the other side, working with the wrong side and picking up and knitting the I-cord, looked much better, so I continued. I used up 7 little balls of yarn completely for this hat. I tried it on and it fit beautifully and then I looked in the mirror and laughed out loud. I looked like a crazy old woman, which I guess I am. Because I will wear this helmet to keep my head warm when I walk the dogs.


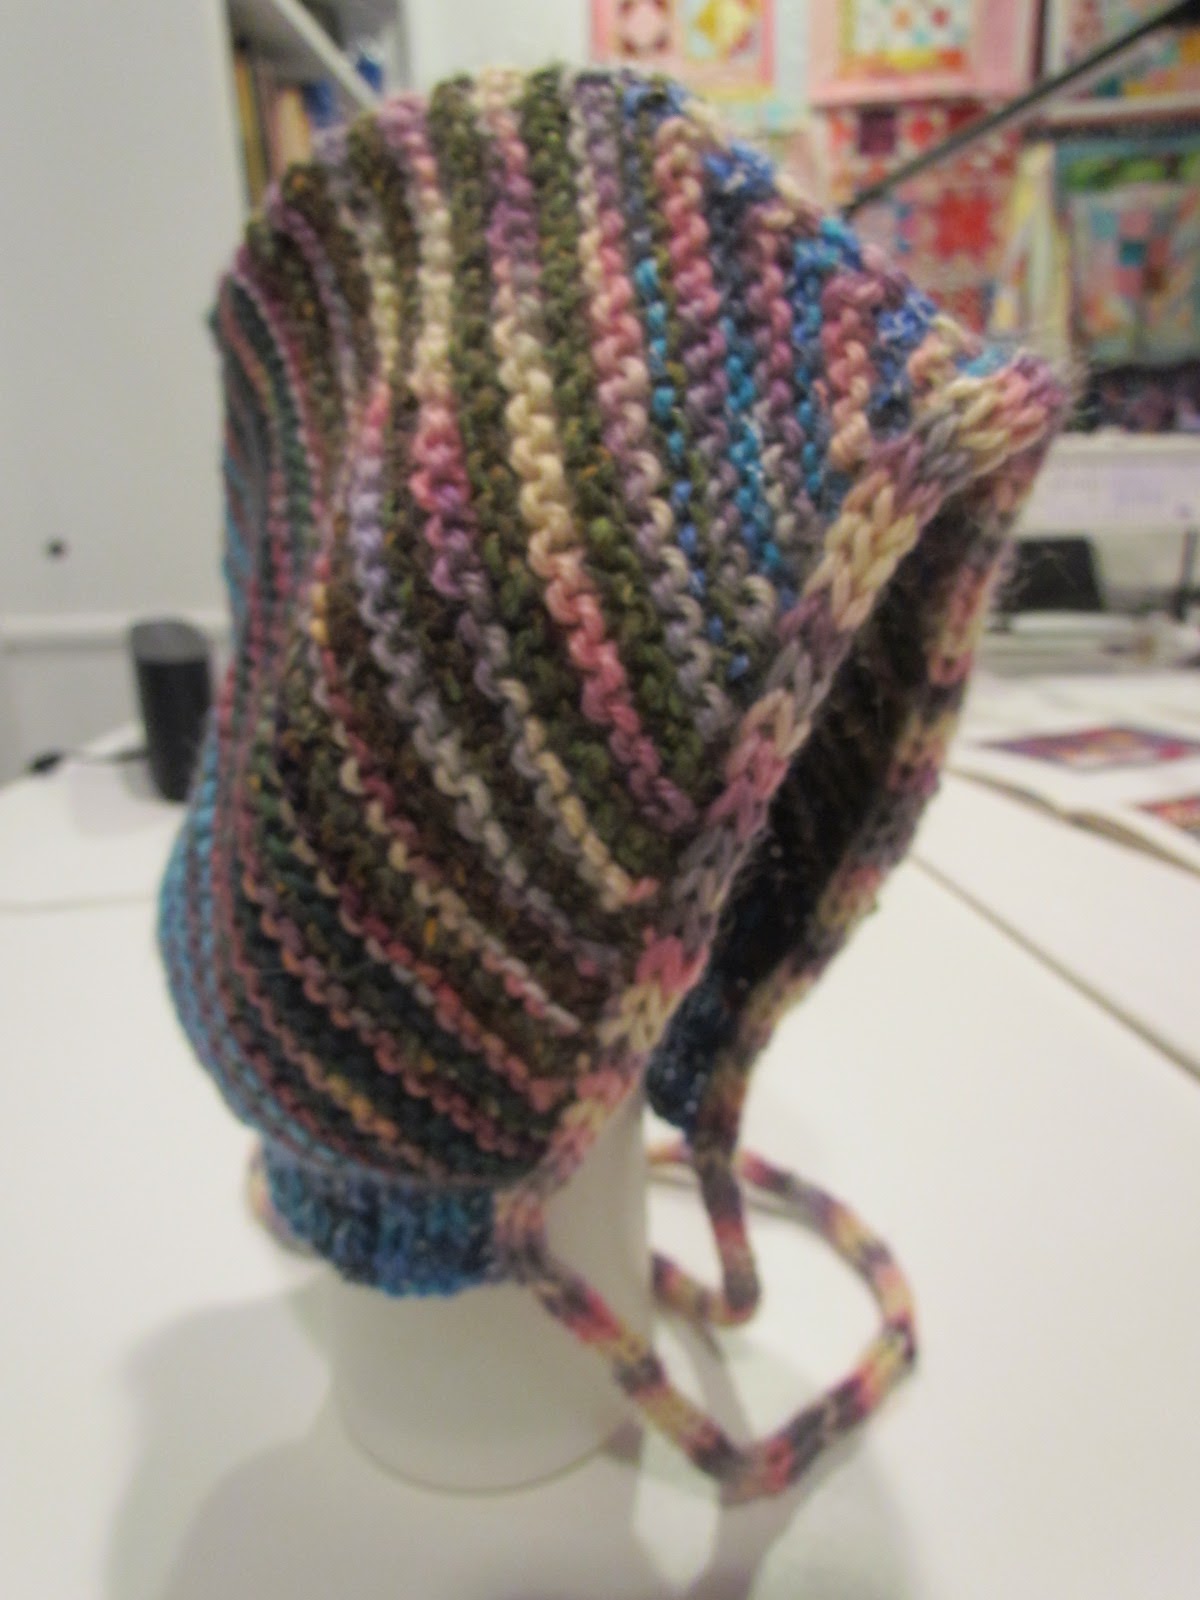
I got my lovely squirt bottle to model for me. I need one of those wig heads...anyway, I will give this one another try, since I think it would look cute on a young person, and definitely keep them warm. Hopefully they won't get beat up at recess just for wearing it.
I've been knitting hats for our church charity and brought ten of them to church already, but forgot to take pictures, but they weren't all that original and exciting, just warm and suitable for actually wearing. Here's more from this week, modeled on a roll of bathroom tissue:


 I love the decreases on this one. Hopefully one of these will be chosen by a boy. It's hard to think 'boy' when knitting these hats. I want to make them all pretty.


This last one, I think I must keep for my own head. It is silk and a fuzzy merino and needs a bit of special care. Or that's my excuse for keeping it.

No comments:
Post a Comment