Saturday, December 21, 2019

New Raglan Sleeves

Some of you may know that I have a designers page on Ravelry and occasionally I take a look at who has made what from my designs. Well, to my surprise, a knitter Ravelry-nicknamed Londasneller devised a great improvement on my design and here it is. A raglan sleeve! I loved it and wanted to know how she did it so I could do the same. She began at the wrist, and found that increases took her to up to the armpit, where decreases could be made for the sleeve cap. 
This may be all gibberish to non-knitters, but I know some of you are paying attention, so for you very few, here's what I did with her directions.
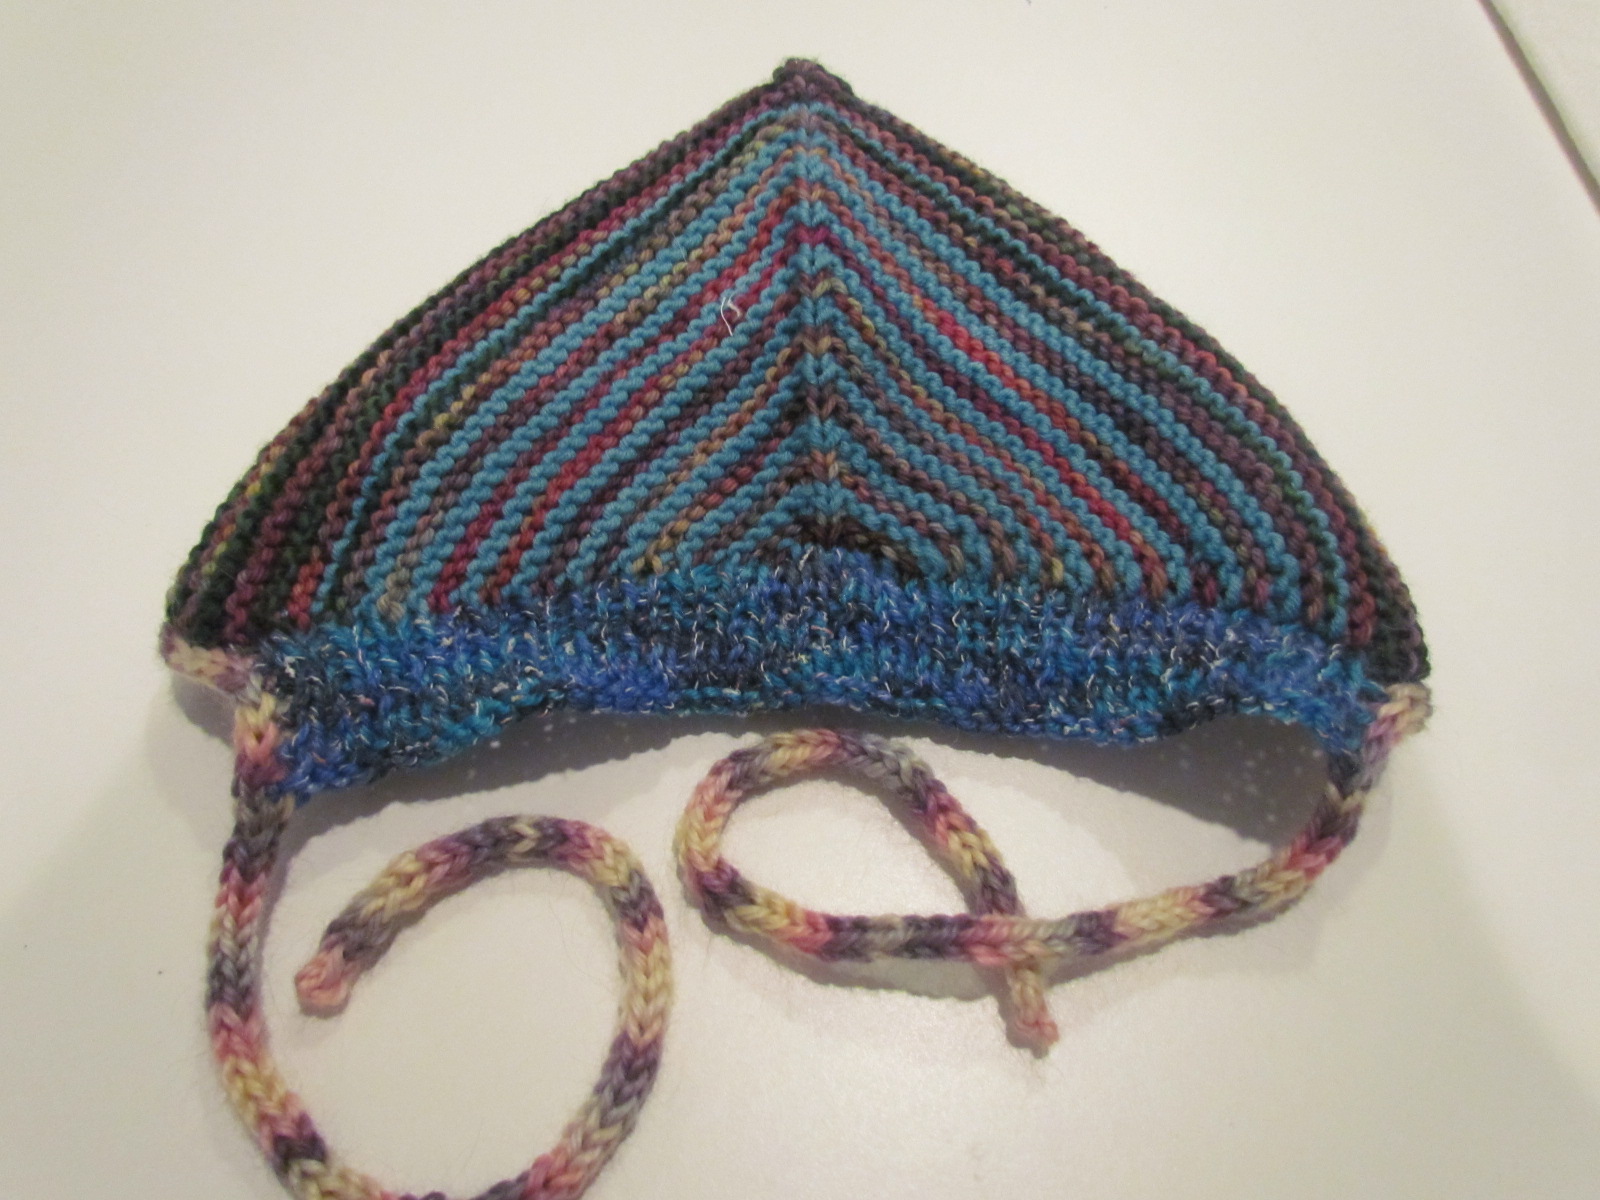
 I made a mess. 
Three sleeve versions before I got it right. Here are versions 1 and 3, stacked. I decided not to start at the wrist but at the sleeve cap and increase to the armpit.  Then I decreased regularly to the wrist, but not correctly at first or at second try, but by the third try I got it right. 

 The first sleeve was way too wide and would have looked awful. The real problem was that it used up too much yarn and I began to run out when I was doing the second sleeve. So I unraveled sleeve #2 up to the armpit and decreased sharply as I traveled down the arm. Much narrower sleeve and I had just enough yarn to finish it perfectly. Now of course, I will unravel sleeve number one and repeat the decreases as I have marked on sleeve number 3. 


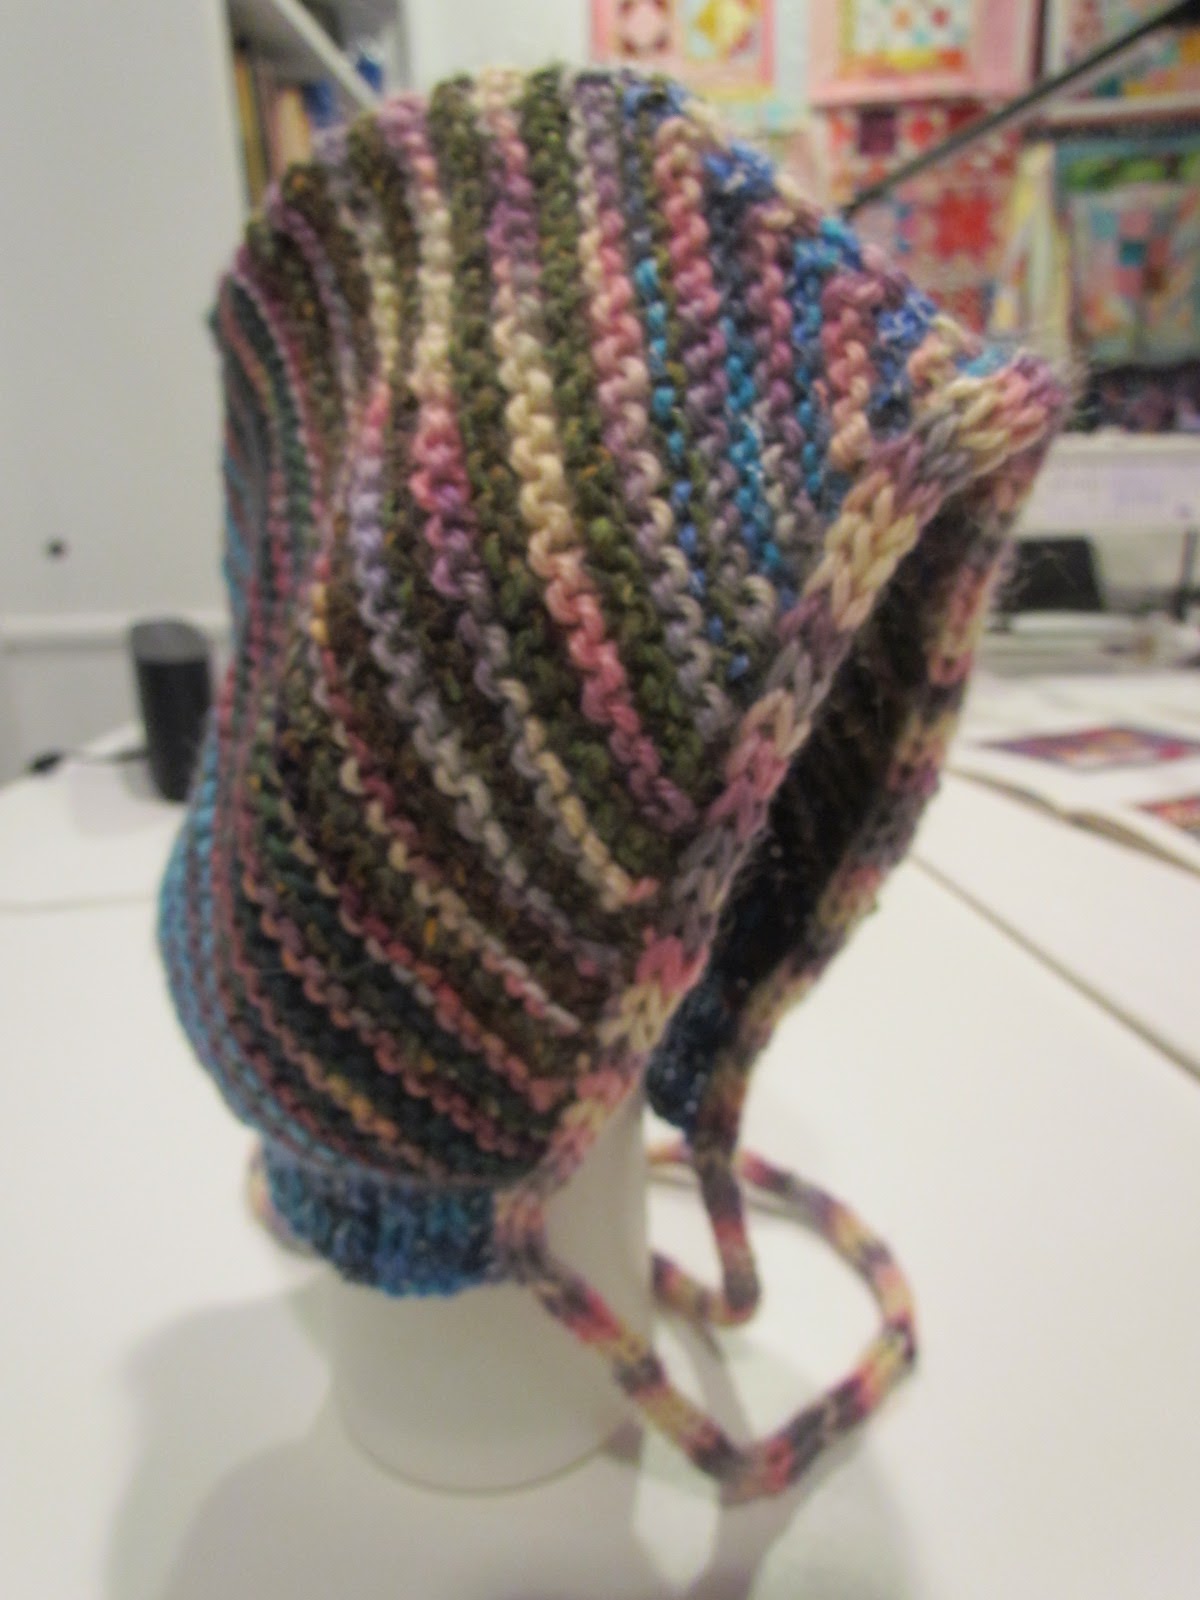
 I have markers at each ridge to note a decrease. For the record, I began at the neck by casting on 3 stitches and increased every right side row until I reached 75 stitches, which corresponds to the number of rows of the side of the diamond it would be attached to. My base diamond begins with casting on 75 stitches. After reaching my 75 stitches on the sleeve cap, I began to decrease each right side row (each edge) until I reached 67 stitches, which is where I could stop that acute decreasing and begin a less frequent decreasing. Next I decreased every other ridge until I reached 63 stitches. From that point on, I decreased only every fourth ridge onward to the wrist, ending with 39 stitches, and a length of about 18 inches from the armpit.

 As you can see it will line up nicely with the front and back. So much nicer than my original design, thanks to Londa!
 Here's the correct sleeve folded and placed where it will be sewn into the body of the jacket.
So I am one happy knitter and will encourage future jackets to be made with raglan sleeves, as it really improves the design immensely.

Tuesday, December 17, 2019

More QAYG Stuff

While the rest of the world is getting their Christmas shopping done, I have been so busy in the sewing room. It only takes minutes to make another stripey scrappy quilt as you go block, so when I can grab some free time, I make one or two. But yesterday my Hexagon templates from Missouri Star Quilting company arrived and I am going nuts with these little quilt as you go hexagons. Here's link to the video tutorial. 

I have a bunch of batting scraps and this template is used to cut out the hexie shapes in batting and fabric. 5 inches or so for the interior and 6 1/2 for the backing which wraps around to the front. Machine stitch it down and join with machine decorative stitches, or zigzag. Soooooo cute!

 This really works for a fun scrappy look, but I can so see it in planned colors and fabrics. La dee dah, Happy Mel!

Monday, December 16, 2019

More QAYG

 My darling sister Brooke is switching jobs and in January will begin working at a wonderful sewing machine/fabric shop. She will sell and teach and currently is preparing the first of her classes, which is a beginner's block of the month. I am helping her sew, quilt and assemble the sample.
There are 11 blocks to make in this year long class, but the 12th lesson, to make it a block of the month, is the assembly technique, quilt as you go. 

Here's a close-up of the assembled blocks. Since we are using white throughout, it is difficult to see that the narrow strip between each of the blocks is the 1" joiner, with the folded 2" on the backside. That's the trick of this QAYG method. To make it even more cohesive, we added a white cross to all the plain blocks.
As for me, I have a pile of uneven strips which have been nagging at me to use. So why not make them into blocks and quilt them as I go? These started out on a 12 1/2" backing and batting and I drew a rectangle on the batt 4 1/2" down the middle. I grabbed a bunch of my strips and cut them to 4 1/2"and sew and flipped them down the block. Then added strips along each side to fill out the whole. Trimmed to 12" I added a one inch strip between the two finished blocks and connected them on the back with a folded 2" strip, stitching in the ditch from the front. The skinny looking connecting strip on the front is that diagonal stripe. Neat huh?
Difficult to see, as it is white on white...Here are the steps:
1. Using a quarter inch seam, sew a 1 inch strip to the front of the block and at the same time sew a folded 2 inch strip to the back.
2. sew the second block to the one inch strip which joins the two blocks.
3. press the back strip over the butted seam and pin from the FRONT,
4. quilt in the ditch removing pins as you go
That's it.
I was all excited about the 'new qayg' method in my previous post, but this way is better for beginners, imho.


Tuesday, December 10, 2019

QAYG Finished quilt

 I don't have a name for this quilt and always referred to it as that black and white top. NOT a great title.  I put it up on the wall horizontally to get it all in the shot and it measures 61x76". It was made by the Tuesday group, Patsy Brown, and Diane Frandsen and me. 
The important thing is that it is quilt as you go. I did it in long skinny panels, which is also how we made it. Here's a closeup of what the connections look like.
I tried to match the connecting strips with the adjoining sections. Some matched better than others, but it still looks good, in my humble opinion. OK, not so humble...See the previous post for the connecting technique.

The other things going on are all baking related. I was at Home Goods looking for a stiff spatula and saw this fancy cake tin which I originally saw and coveted on the Great British Baking Contest. I had to have it. Only $16.99 and when I checked on the Nordic Ware site, they had it listed at $40. Woowoo!
This Apple Cider Doughnut cake recipe came from Pinterest, of course. I used a spice cake mix and added pumpkin pie spice to give it a bigger boost. Yum.
Lots of cookie baking is going on and yesterday I made banana bread to which I over added bananas, nuts and raisins to and it almost overflowed the pan. Silly me.
Knitting also abounds, and I have finished about 14 hats for charity (no pictures) and am now working on a diamond patch jacket with a new sleeve adaptation.
No Christmas shopping to speak of. In fact I convinced Dave to allow me to donate our huge 12' artificial tree (and all the ornaments) to Goodwill and it took both of us to get in my little car and unload it on the sidewalk in front of our local GW.  This will be my first year ever without a tree and I gotta say I don't mind at all. I may pop for a pointsettia or five...and maybe an amaryllis. When they croak, they will be added to the garden. Happy Mel!
For you folks up North, we had lots of rain last night and the temps are still in the 60" this week. I cannot complain.
Love you all,

Friday, November 22, 2019

You gotta try this!

 OK, I am pretty excited. I figured out another way to quilt as you go. Here's my trial sample, two small blocks quilted and joined with my new and improved version III method. It really is so much better and easier (if I do say so myself). And they have been squared off before joining, which is also part of the improvement.
What you are looking at is a way to connect blocks or even larger sections of a quilt, with fabric to enhance the design, fabric that is special, that you don't want to waste by putting it on the back.  Version II used good backing fabric and only a small part of it showed on the front, which I felt was a waste of pretty fabric.
Here's an example of version II quilt as you go.  Using 'good' fabric for the backing and cutting it much larger than the blocks that were quilted onto it, the extra edges of the fabric was then used to join the two sections, and then folded over and quilted down. 
A problem occurs when quilting distorts the blocks and they can't be trimmed evenly, easily. But with my new version, III, you can quilt the blocks or lengths of blocks, trim them to the edge, so you know they are going to fit, and connect them, which is the next part I want you to see. This is the back side of two blocks joined with contrasting connecting strips. The backing fabric used here purposely for the sample was just some leftover pieces that didn't work, so no biggie. 
Here's what to do...after you have quilted your blocks, cut connecting strips in your desired fabric 1.5" wide and longer than the blocks you want to connect.

Sew the connecting strips onto the back of the quilted blocks with right sides together.
It's OK to leave a little extra on the strips which can be trimmed later after the two are sewn together.
 Turning the strips to the front, align the two blocks and sew together with a 1/4" seam. I found that it was necessary to put my foot right onto the block to get my needle as close to the edge as was possible. 
The two strips are sewn and ready to be turned under.

The strip is folded in half, pressed and pinned and then top stitched through all layers. 
 Three blocks joined. The strips can now be trimmed even with both blocks.
So what makes me happier with this method is:
1. trimming or squaring each of the blocks after quilting them individually
2. adding contrasting connecting fabrics to enhance the design
3. using appropriate backing fabric, or even multiple fabrics, having nothing to do with the design of the top.
4. this is not limited to sewing small blocks together. Panels would work just as easily, which is pretty much what I would do, as it would reduce the number of steps in joining the quilted parts.
5. quilting off the edge of the block and trimming it later. see reason #1.
Anyway, I have plans to do this method with the top I have up on the design wall, unfinished at the moment.
 By the way version one is on my old blog, http://fibermania.blogspot.com/p/quilt-as-you-go.html
As far as I am concerned, don't even bother with version II, just leap forward to version III and save yourself and your good fabric for the fronts of your work.

UPDATE:
 Four big blocks joined with complimentary connecting strips.


Saturday, November 9, 2019

For my own amusement

Warning: Knitting talk follows. For you non-knitters, just skip the numbers but come back for the story.

I saw this adorable bonnet on Ravelry and thought I could figure it out myself, and then was stumped. I got as far as imagining that one might begin with the ties (I-cord, simple enough) and then cast on for the ribbing...no that isn't right. OK make the mitered parts first then pick up stitches for the ribbing and then do I-cord all around, ending with the ties. Yes. So, figuring it out, I forgot about it.
++++
We had several doctor's appointments this week which I prepare for by gathering up some yarn and needles to pass the time. Yesterday I decided to use up all the little leftover balls of yarn that I was saving for scarves, where I like a bunch of different yarns to perk up a simple knit. I began this scarf thus:
Cast on 5 stitches.
Kfb, kfb,k, kfb, kfb. 9 stitches
K4, p1,k4.
Sl 1, kfb, k1, kfb,k1,kfb,k1,kfb, p1. 13 stitches
Sl 1, k5 p1,k5, p1
Continue thus: slipping first stitch, kfb, k to 1 stitch before center stitch, kfb, then knit center stitch, kfb, continue to one stitch before the end of row, kfb, p.
This pattern results in a lovely triangle which grows as tall and wide as you like.
 The back of the hat which was to be the beginning of the scarf, but then I remembered that bonnet. What if I started decreasing from this point on, would I make a nice pointy enclosed thingy? OK, so I decreased one stitch on each edge (after the initial slipped stitch) and two stitches before and after the center k stitch, which worked just as expected. 
 
By this point we had left the doctor's office and I was at home in front of the TV, obsessed with finishing this thing. It was a pointy hat which I figured needed to be longer in back, but not so much longer all around ( I have since changed my mind), so I just picked up stitches for the ribbing along the back which as you might recall is where I began. Then the ties. Hmm. OK so first I made some I-cord, long enough to work for one side and proceeded to attach-knit it to the hat itself, from the front, which was icky looking. Plan B. Starting on the other side, working with the wrong side and picking up and knitting the I-cord, looked much better, so I continued. I used up 7 little balls of yarn completely for this hat. I tried it on and it fit beautifully and then I looked in the mirror and laughed out loud. I looked like a crazy old woman, which I guess I am. Because I will wear this helmet to keep my head warm when I walk the dogs.
 This lovely young lady looks adorable wearing hers, altho she may have just been humoring the knitter.  Anyway, this hat falls into the category of Beat-up hats which I first blogged about here.


I got my lovely squirt bottle to model for me. I need one of those wig heads...anyway, I will give this one another try, since I think it would look cute on a young person, and definitely keep them warm. Hopefully they won't get beat up at recess just for wearing it.
I've been knitting hats for our church charity and brought ten of them to church already, but forgot to take pictures, but they weren't all that original and exciting, just warm and suitable for actually wearing. Here's more from this week, modeled on a roll of bathroom tissue:

  I love the decreases on this one. Hopefully one of these will be chosen by a boy. It's hard to think 'boy' when knitting these hats. I want to make them all pretty.
 This looks pointy-headed, but it settles down nicely when worn. Trust me.
 

This last one, I think I must keep for my own head. It is silk and a fuzzy merino and needs a bit of special care. Or that's my excuse for keeping it.

Tuesday, November 5, 2019

15 years at Blogging

Altho I have been a bit sporadic of late in posting, it is still the blog's anniversary and I feel like it has been such a part of my life's journey that I have to say something today.
I started blogging because...why was it? Needing to show what I made, or get 'out there' to promote my teaching, or finally, just to have someone to talk to. That ended up being the more important thing.
I got the idea from hearing David Sedaris talk about being a diarist. It seemed like a good idea to keep track of life this way. Years and dates are elusive, but pictures tell so much, so blogging about the garden, the quilts, the paintings, and knitting really helped me nail down my progress and/or struggles. And to have some reference for people to find the trick, the easy way, or the pattern made it easier for me to help or teach.
As I look back over the zillions of pictures I took for the blog, would you believe most are from gardening! Not this year, which being a drought from June on made the garden hopeless. O well. There's always next year, I hope.
I was looking at my Ravelry page the other day and saw someone had devised a better (raglan) sleeve for my often made Mitered Diamond Patchwork Jacket. I wrote the knitter, Lorna, and she sent directions. I am sharing her version here on the blog, if anyone is interested I will pass on her method.
+++++
Today I am returning to my knee doctor, where I had planned to report how wonderful my knees are doing, until yesterday when I carried a heavy flat screen tv downstairs and it was just too much for the right knee, the one that is bone on bone. So I suppose we will talk about surgery today. I am looking forward to not having to deal with this issue someday in the future.
And in other news, I must tell you a wonderful thing...walking the dogs last night at dusk, I was getting them out of my neighbor's yard two houses away, when I noticed in the window, which must be the dining room, a sewing machine and a yarn swift set up. !!! Right here just steps away from home, one of us! So I took the dogs in after their walk and went right over to find out the scoop. The lady, Bethany, was not home but her dad who she lives with said she was at handbell practice! I told him I have a sewing studio set up in our living room and a room upstairs is a yarn room. He said, O we have a yarn room too. Amazing. And she drives a Red car...a Camaro. Red cars in common too. I am weird or what?
I hope to find out more later today. Wouldn't it be nice to have a fellow fiber-ist right nearby?
Stay tuned for updates.