
#7 is the same design, but it has open vents on the side, so that requires a different set of instructions.
I'm writing this as simply as possible, but if you have a bit of experience it should make sense. And if you are a newbie, I hope you can still follow along.

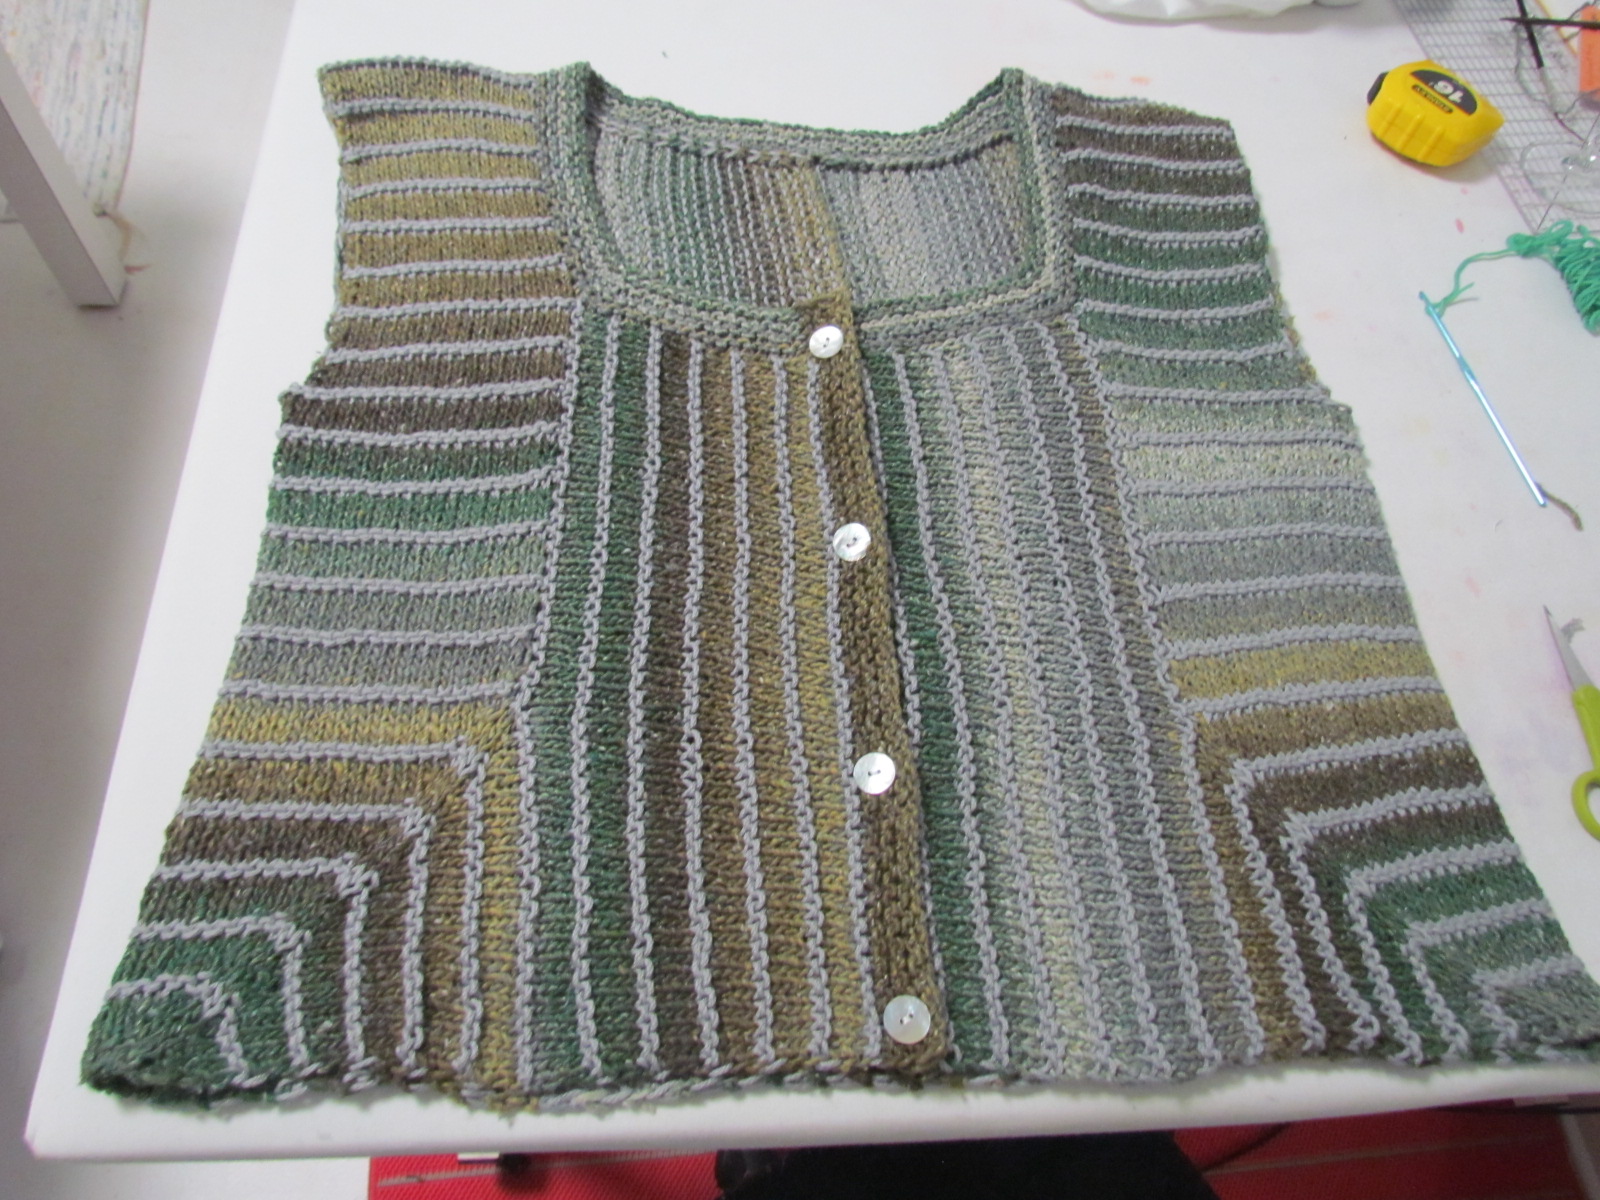
Gauge determines the size of the finished project, so measuring is crucial. I use stripes often so counting them keeps everything even. Otherwise just keep note of stitch count.


Now here comes a bit of math... Measure the swatch and multiply the width by two. Let's say the width is 10", so 2x10= 20 which is half or more of the bust measurement for a 38-40" bust. You're right on target! Put the side stitches on waste yarn and continue knitting upwards to the armhole WITHOUT increasing.


Divide the side panel stitches in half and put half on waste yarn and half on the needle and continue knitting upwards for about 8-9 inches. Then pick up the remaining stitches from the waste yarn and finish the armhole. Join the shoulder seams with a three needle bind off, or sew them, your choice.
When both side panels are completed it is time to knit the back.
 The back stitches are picked up along the edge of the side panel one panel at a time and knit towards the center back. When the desired width is achieved, the sections are joined with a three needle bindoff.
The fronts are knit by picking up stitches along the edge of the side panels, one side at a time, of course. I just count the strips and figure out how low the neckline will be. Knit towards the center again. The neck band will have a few decreases at the squared off edge, but you can decide about that when you get there. I usually do the neckband first and then the button bands last.
kfb: knit front and back
pm: place marker
sm: slip marker
ptbl: purl through back loop.
sl1: slip one
Cast on 7
Row 1: kfb, pm, k, pm, kfb, pm, k, pm, kfb,pm,k,pm, kfb. 11sts.
Row 2: k2, sm, p1, sm, k2, sm, p1, sm, k2, sm, p1, sm, k1, ptbl.
Row 3: sl1, kfb, sm, k, sm, kfb, k, sm, k, sm, k, kfb,sm, k, sm, kfb, ptbl. 15st.
Row 4: (slip all the markers as you come to the them) sl1, k2, p1, k3, p1,k3,p1, k2, ptbl.
Row 5 and all (right side ) odd rows: kfb before and after the first set of markers and the last set, and just knit the center stitch between the two center markers. Each row increases by four sts. Continue to purl the marked stitches on the back side to maintain the knit stitch on the front side. On Row 5 switch to contrasting color for four rows and return to main color after four rows.

These are so cool! Thank you!
ReplyDeleteThis comment has been removed by a blog administrator.
ReplyDeleteAnxious to try this. Thanks for the pattern.
ReplyDeleteThank you. Very good explonation how you knitted it. I have started knitting, one side panel finished. I think(know) I gonna love this.
ReplyDeleteDo you just continue on with row five and knit the next row but purl in between the markers?
ReplyDelete